(February 2017, Update with comments tips)
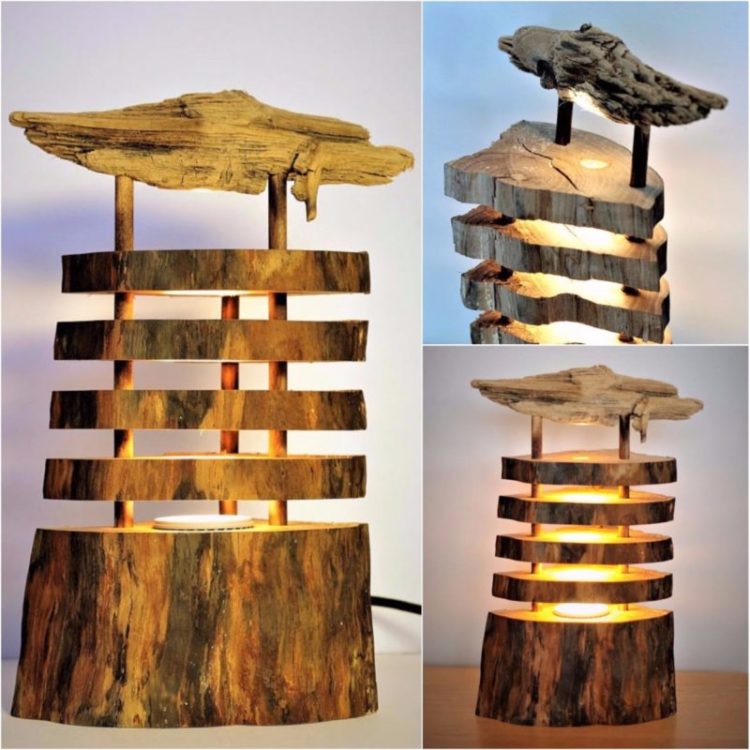
How to make a spectacular log lamp? You may have wood logs available around you, or maybe a wood part too big to put in a fireplace… Make this amazing wood floor lamp as indoor or outdoor lighting!
This great tutorial will help you in all stages, however, some information, details may be missing, in this case, leave a comment or use your imagination to solve the problem ;) The guide is easier than it sounds, you just need some woodworking knowledge.
You can buy a similar log lamp, with modern design but also more expensive here: Sculptural California Cedar Wood Lamp or use best browser page to find others tutorials on DIY websites.
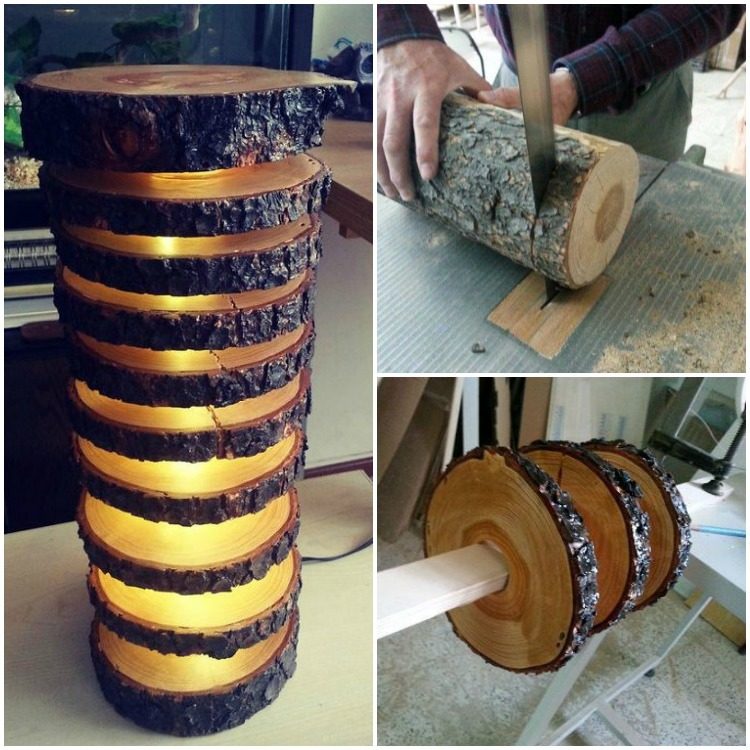
Everything you need to make a custom log lamp:
- Plexiglass piece tube (30 cm long and 4 cm diameter)
- Wood glue
- Varnish
- LED light strip (yellow)
- LED light adapter
- Wood saw
- Hammer
- Drill
- Sandpaper
- Scotch tape
This is the list of equipment needed to make the log lamp in the picture, for a wooden log about 40cm. If your piece of wood is larger or smaller, adjust the size of the tube.
1. Locate the materials you need for this craft.
2. Cut the wood log into slices (2 cm minimum) with a wood saw.
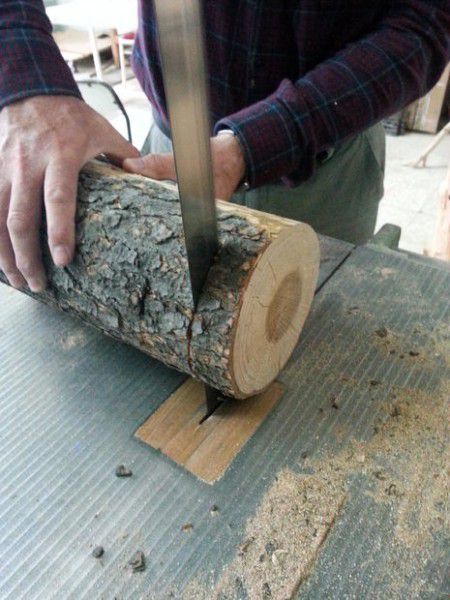
Tips :
- Use a cradle to hold the log so it can’t roll and get thrown (Ruth) or use a chainsaw (Matija).
3. Find the center of each log slice and make a hole with a drill, use the same diameter as the plexiglass tube.
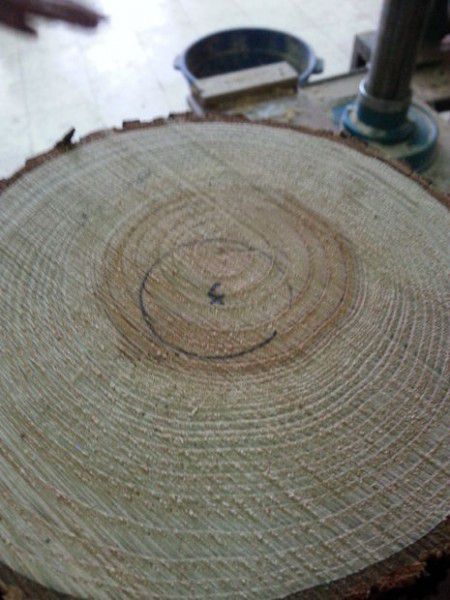
4. Sand down the surface of each wood slice with sandpaper.

5. Put wood glue on the inside of each hole and let it dry for a day.
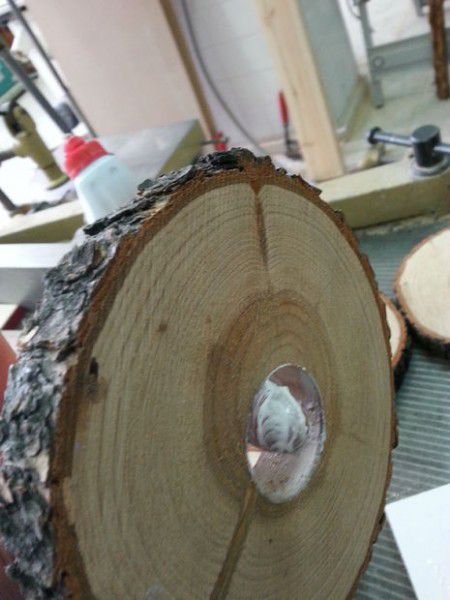
6. Put some wood sticks to get the desired space between wood slices.
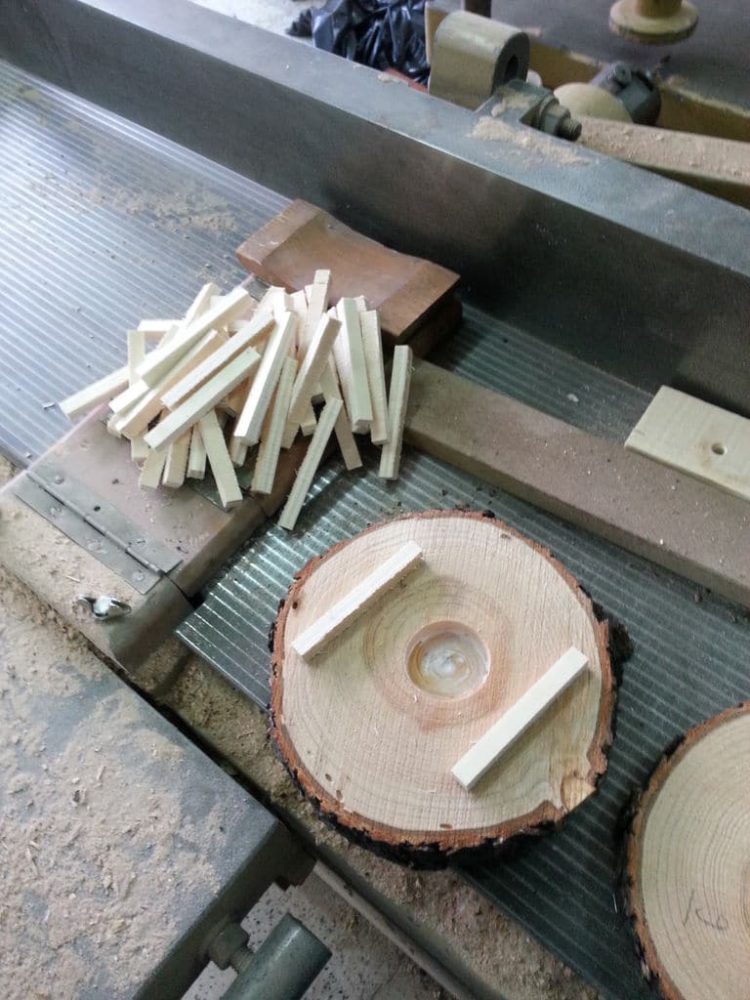
7. Varnish each wood slice and let them dry, repeat the operation 2 to 3 times.
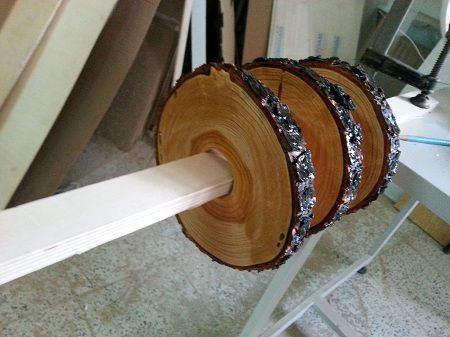
8. Cut the plexiglass tube (40 cm) and install the LED light strip inside, you can fix it with scotch tape.
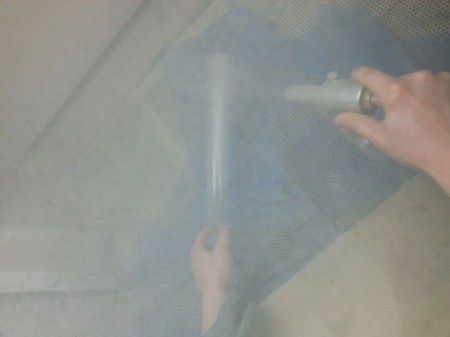
9. Install wood slices one by one on the plexiglass tube and fix with wood glue.
Tips :
- To have a more structural lamp, cut a piece of plexiglass tube (with an inside diameter the same as the outside diameter of the main tube) to the length of the space between each wood block then cut a slit so you can place it around the main plexiglass tube. (VCW, Ken)
10. Cut a groove in the bottom block of wood deep enough to put the power cord through and then fill it with glue to hold it in place
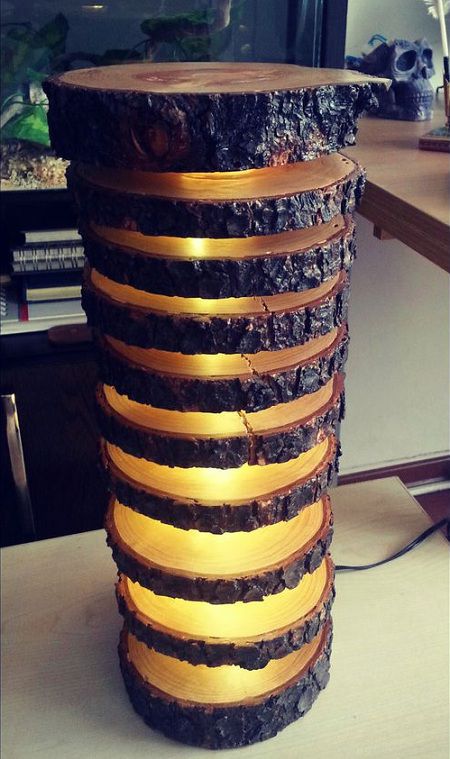
Ready! We have finished making this spectacular lamp with logs. If you need more inspiration, look at this category: Wood Lamps.
And if you are not a crafter and simply want to buy a similar one, look at this cute wood log lamp:
Last update on 2022-05-30 / Images from Amazon API
How do you get the pieces of wood to stay on the plexi tube?
It says wood glue, but what I would do is cut pieces of plexi-tube into short lengths (whatever length you want the spaces between the slices to be) with an inside diameter the same as the outside diameter as the main tube. This would be much more structural than trying to hold each slice in place with glue.
I’d cut a piece of plexiglass tube to the length for the space between each wood block then cut a slit so you can place it around the main plexiglass tube as you put each piece of wood on so you have support for the wood to give a stronger structure and this would prevent the glue from holding everything up by itself. Glue the bottom and top on the tube. Cut a grove in the bottom block of wood deep enough to put the power cord though and then fill it with glue to hold it in place. I’d use LED light strips to cut down on heat buildup inside the tube.
Can anyone give me a brief run down of how to make this? I can’t read Spanish!
I get the basic idea but don’t quite get where the plexi tube fits in…and the photos don’t show it..
Many thanks…
It may interest you:
How to make a small wooden house with pallets
1. Find the materials you’ll need for this craft.
2. Cut slices of a trunk 2 cm.
3. Find the center of each log and make a hole with a drill.
4. Sand the surface of each stem.
5. Put wood glue on the inside of each circle and let it dry for a day.
6. Varnish each timber and let them dry. Repeated 2 or 3 times.
7. Cut the tube plexy 40 cm.
8. Arrange all the pieces of wood on the plexy tube and install the LED light.
These are the instructions translated to english
That’s awesome !
Wish there was a love button!
Lovely want one
Chris Wood could you make this?
Well you have a little project now, don’t you love xx
Never, pls. Never cut a log like He did on a bandsaw… Use a jig!!!
why?
Alexander – it’s because of the roundness of the log there is very little surface contact of the log with the table surface so when the saw blade touches it it quickly forces it down and since there is very little resistance to this because the log can easily roll around it tends to just grab it and send it flying. You can cut logs no probs on the bandsaw – just should use a cradle to hold it so it can’t roll and get thrown. Hope my mangled explanation helps you to understand why :-)
Chainsaw always for cuting logs
Look up “band saw log cutting jig” to see what others are talking about. All they are is a piece of plywood with a V cradle running ninety (to the right) of the blade. Under and attached to the plywood is a 3/8″ thick by 3/4″ wide piece of wood, which follows the miter track on the bandsaw.
The more dull your blade becomes, the more it tends to grab and spin the logs, so the sled becomes more and more a must for these cuts.
When one of the logs spins, it’ll kill a blade quickly.
Absolutely!!! these are very cool!!!! ;)
I thought it would be neat next to your new tables!