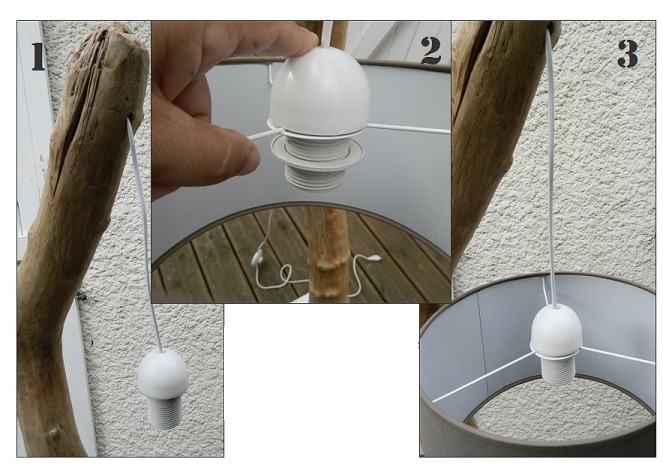
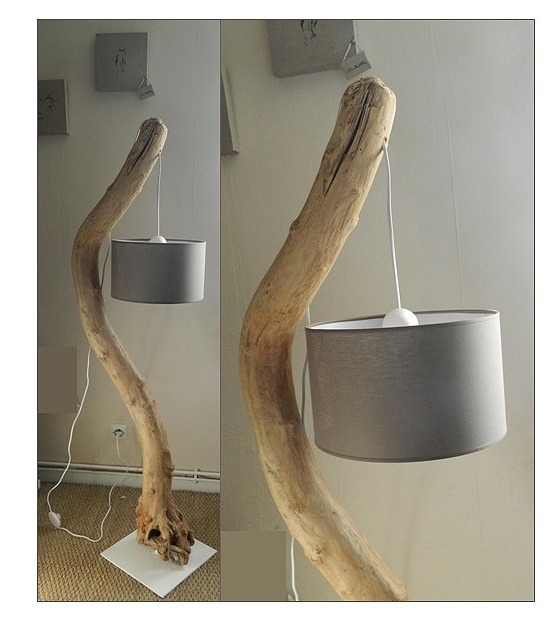
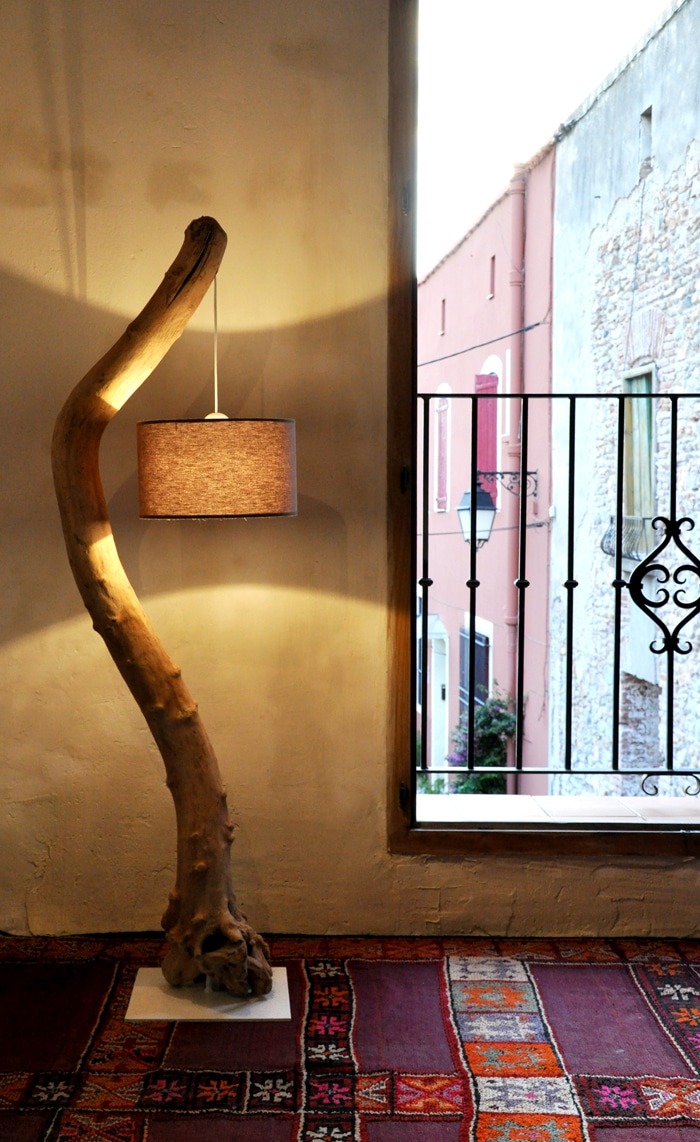
A Driftwood Floor Lamp easy to perform and that is unusual. To acquire an iron base with a rod at low cost and customized, you can go to the blacksmith near you.
Table of Contents
Materials :
– 1 twisted driftwood
– 1 large bush
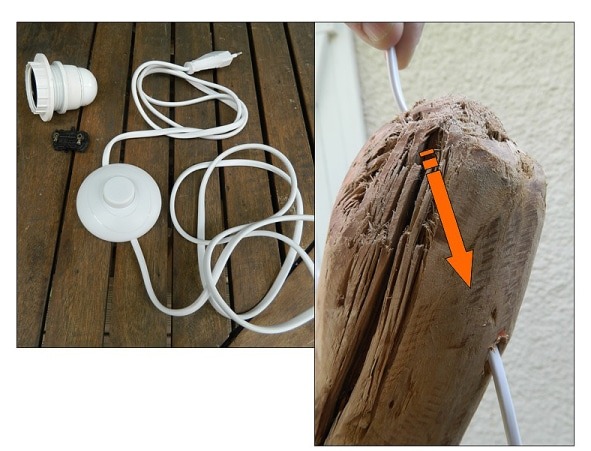
– 1 electric connection for lamppost
– 1 iron base with a welded rod in the center
– 1 hollow rod iron 10 cm high approx. (Diameter slightly wider than the base of the stem)
– 1 shade
The choice of the base
It depends on your driftwood. If it is a light and small diameter, stand timber cut rectangle is enough, you will only have your wood screwed to the base from below.
But if your driftwood is heavy and imposing as this one, it is advisable to choose an iron base, otherwise the weight of driftwood being deported, it will make your lamp fall.
Step 1
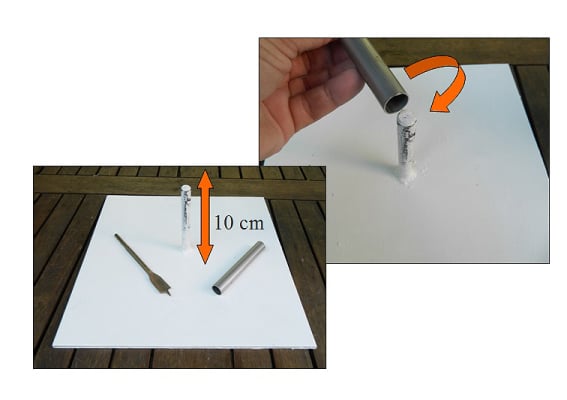
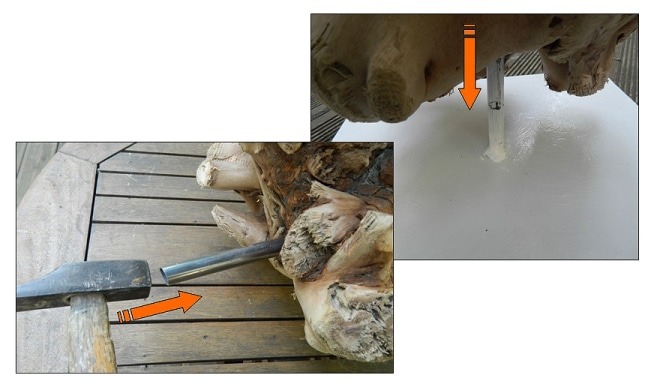
– Your base must have a welded rod in the center of 10 cm in height
– Saw your hollow iron rod about 10 cm
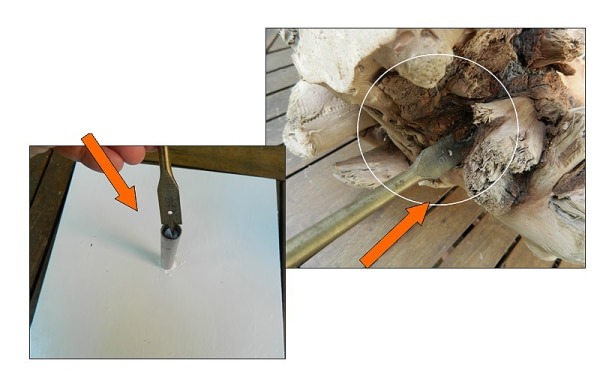
– Drill the base of driftwood with a wood bit to 10 cm deep
– Insert in the hole the iron rod with a hammer
– Insert your wood on the base
Why an iron rod inserted into the driftwood?
Your many manipulations may eventually expand the hole in your driftwood if it is not reinforced with an iron rod, thus it should support our sometimes sudden urges to change the layout of our inside.
Step 2: The lamp
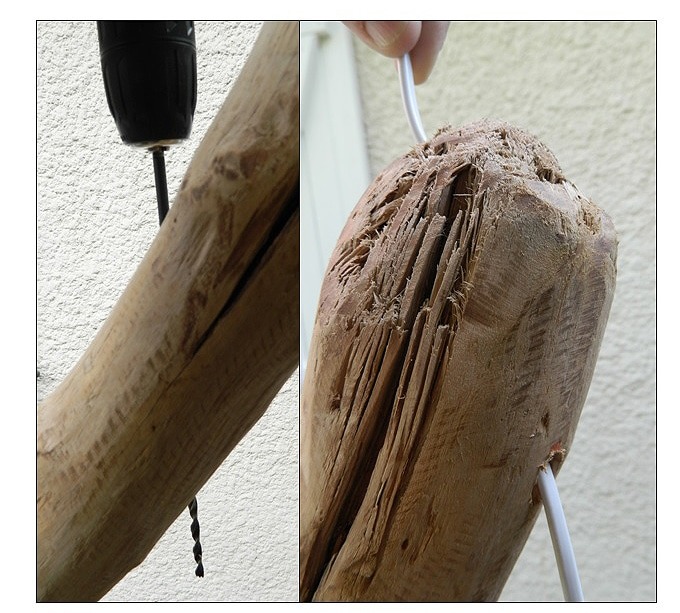
– Drill at the end of your wood a through hole (see picture)
– Insert the wire
– Connect the sleeve to the wire
– Place your shade
