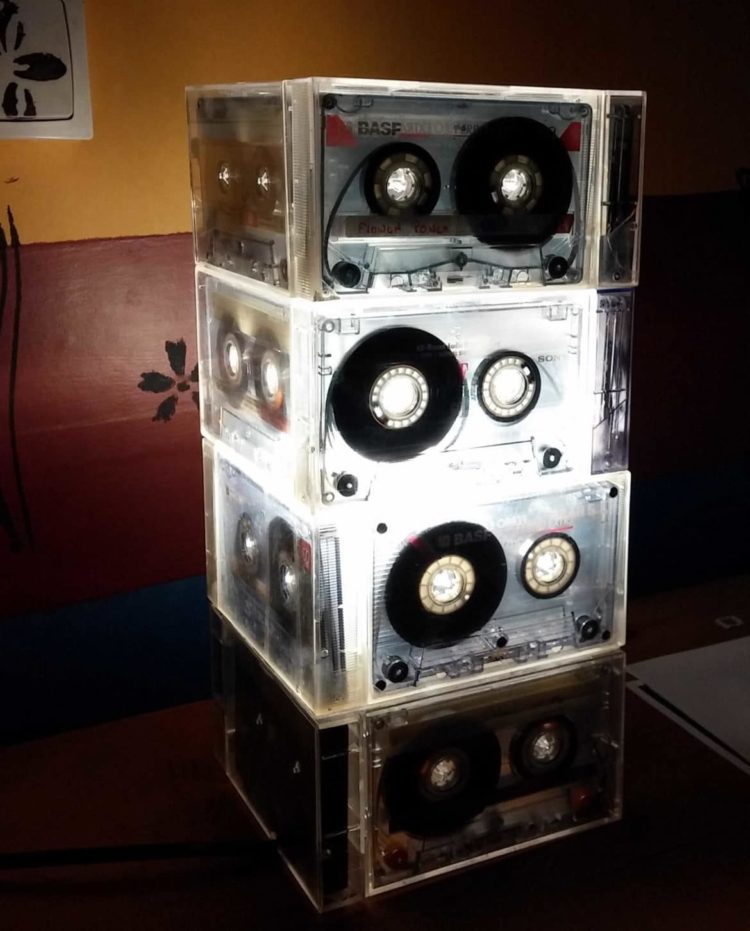
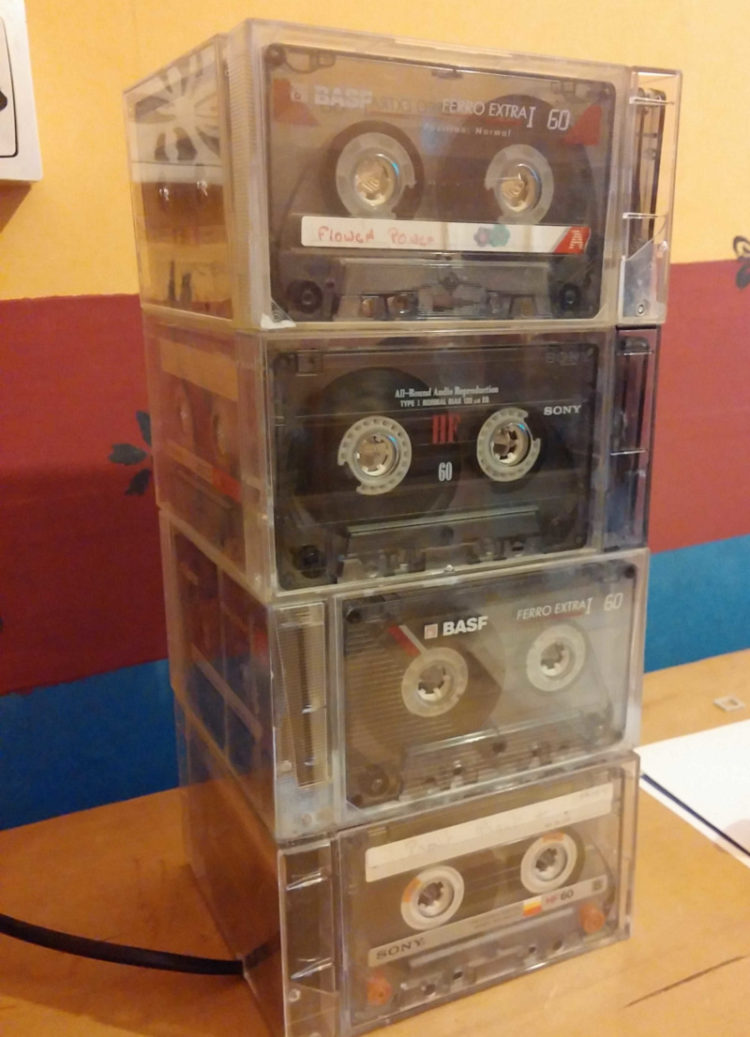
Difficult to recycle old audio tapes. These supports have nevertheless retained a certain charm that you can highlight astutely by manufacturing an audio tapes lamp.
Table of Contents
1- The material
- 12 audio tapes and their case.
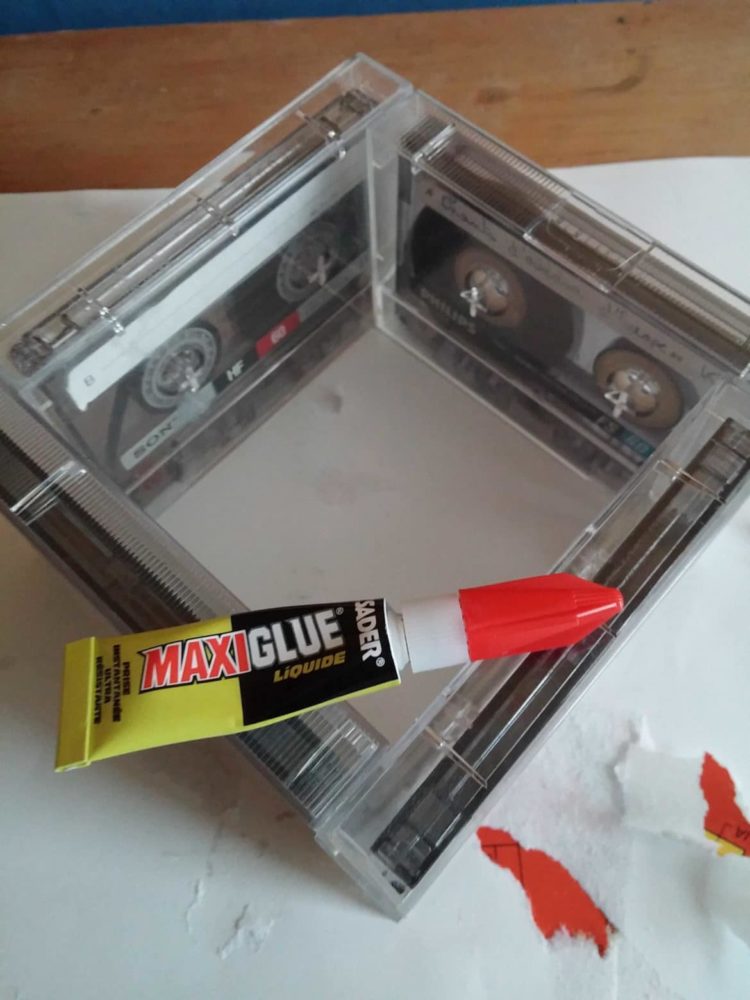
- Some glue (strong transparent glue for plastic).
- An electric kit (cable + socket + switch) or recycled basic lamp.
- A screwdriver.
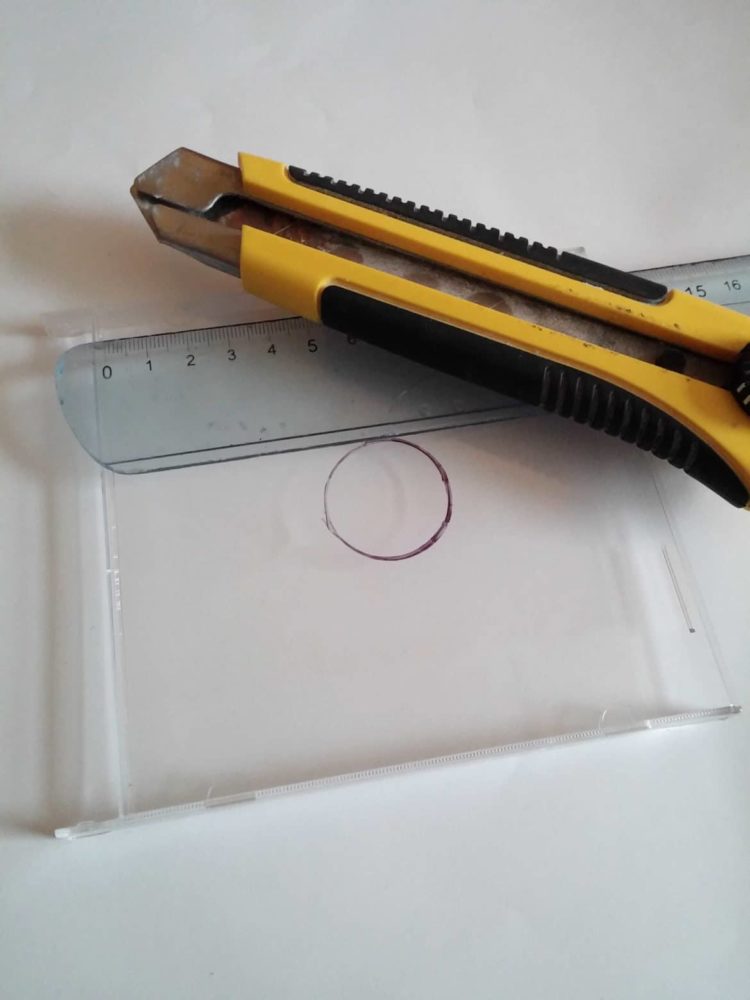
- A rigid plastic square (CD or DVD case)
- A low-consumption bulb or LED bulb.
2 – Compiling the audio tapes
Compose your lampshade by compiling the audio tapes. Glue 4 cassettes to form the first stage on the base of the lamp base. Add the second and third floors. Use a “light” glue point to hold the audio tape casing.
Let the set dry.
2- Making the base of the lamp
Draw and cut a circle with a cutter (you can also use a Dremel to drill, it’s simpler) in the middle of the plastic square (126x126mm). Use the same diameter as the light bulb socket. You can also use a dremmel to drill, it’s simpler.
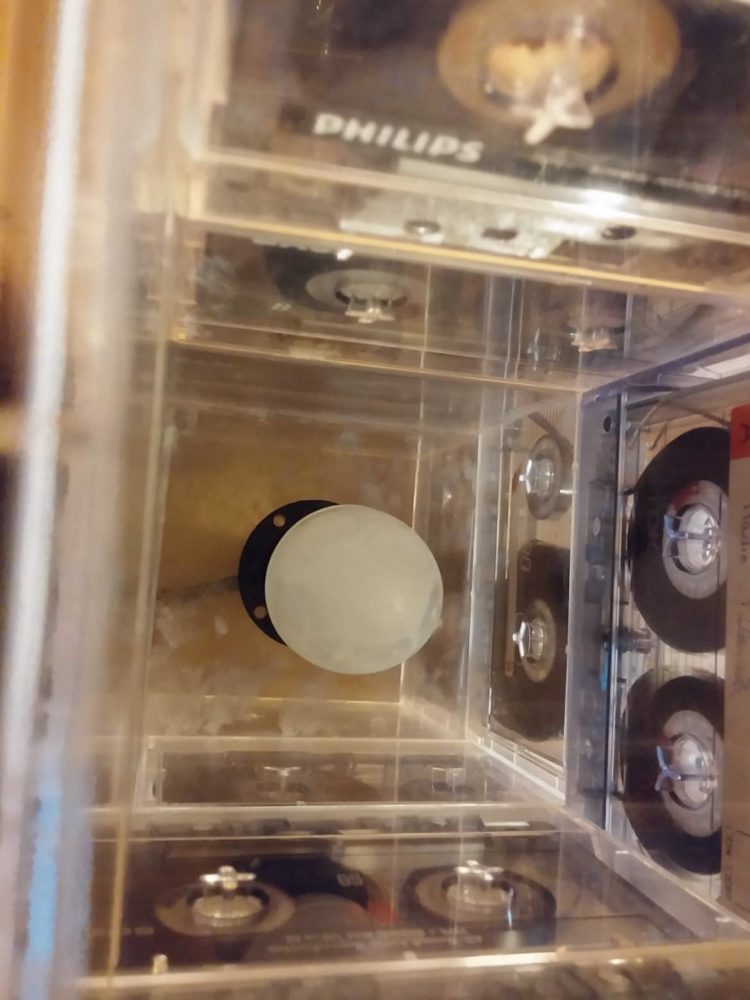
Insert the support of the socket between the 1st stage of audio tapes and the second one.
Once that is done, we go to the next step.
3 – Assemble the lamp
Then glue the additional floors, with the left, right offset. Place the socket on the holder (plastic square).
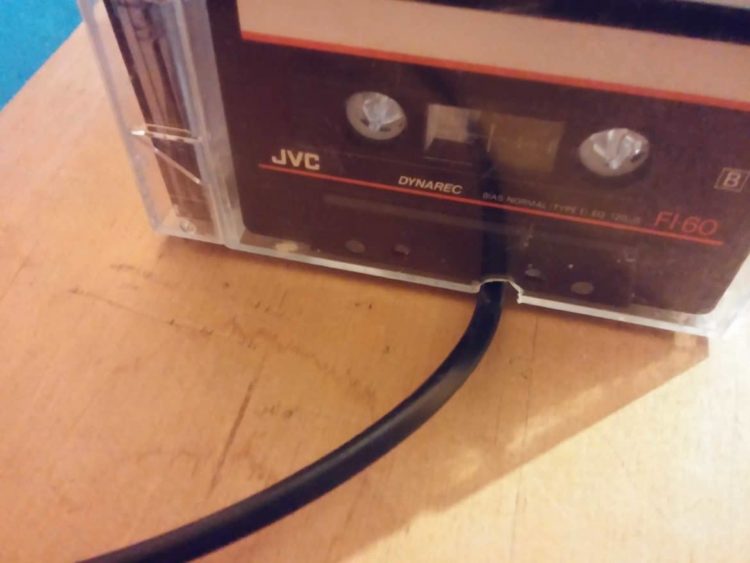
Make a hole in one of the bottom K7s to let the electric cable through.
Let the set dry, your lamp is finished and ready to use.
Source: forumbrico.fr
