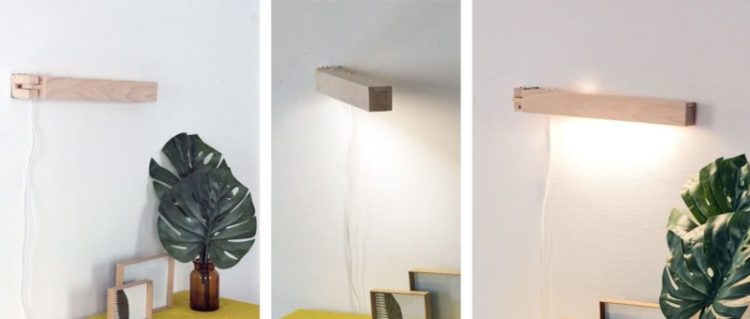
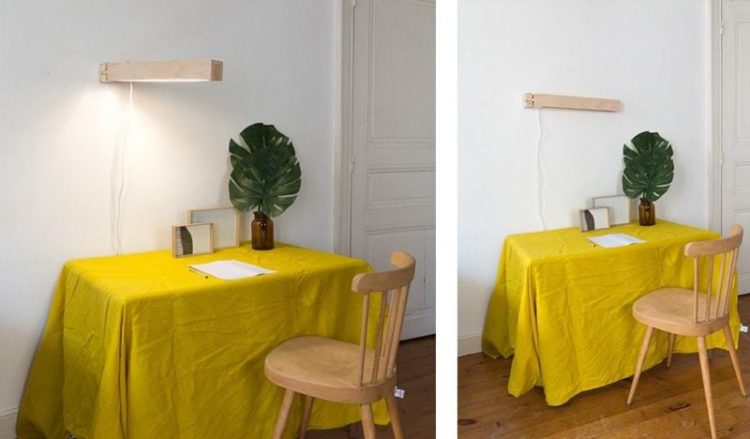
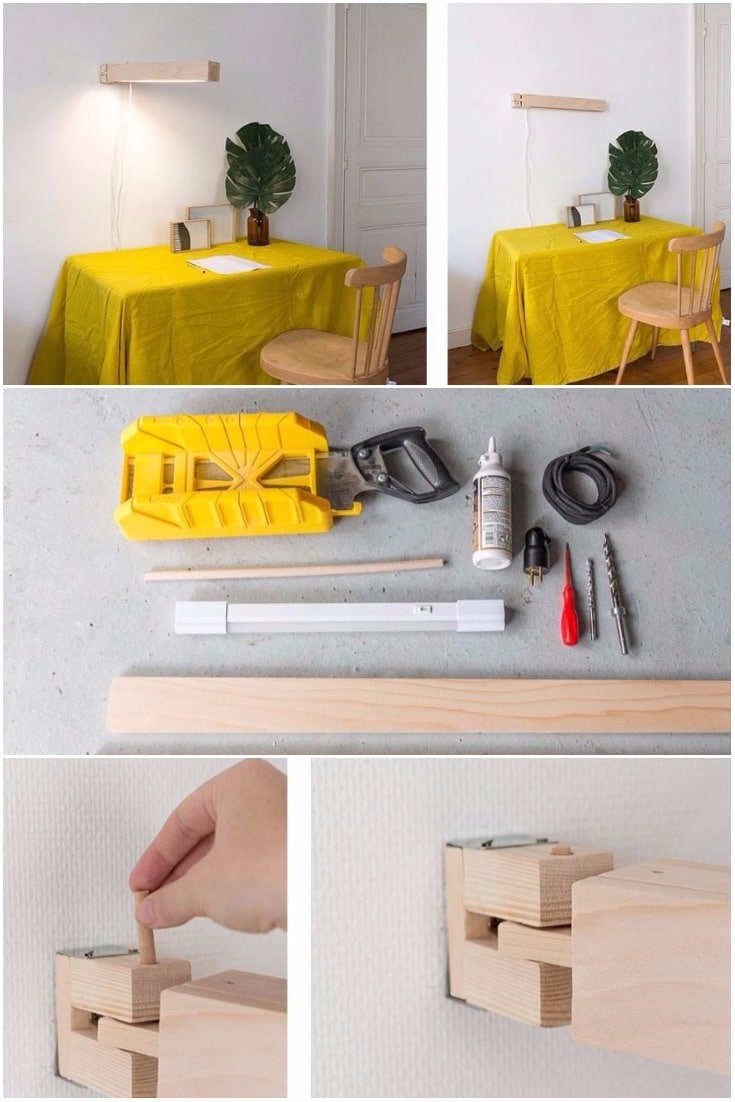
Perfect DIY to make a convenient articulated wooden lamp to work at home in a Scandinavian trend. It’s up to you to choose whether it sticks to the wall if it illuminates you above your workspace. Practical for meticulous work. It can also be made with a wooden pallet.
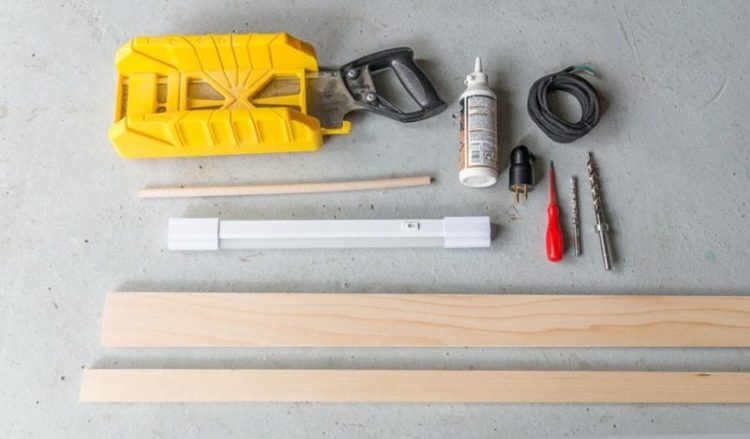
Tools and material:
- a smooth wood pin (in this case 10 mm in diameter)
- a LED light strip (be careful to choose a sufficient power for a working light)
- an electrical cable (color of choice) + plug (if connected to a wall outlet)
- Flat strips and edges adapted to the dimensions of the chosen lamp, here: a cleat of 38 x 18 x 200 mm, a cleat of 9 x 65 x 200 mm, a cleat of 28 x 38 mm (minimum length 50 cm)
- minimum 35 mm wood screws
- wood glue
- a drill
- wick with the same diameter as the wood pin (in this case 10 mm)
- wick with the same diameter as the power cable (here 7 mm)
- an electric screwdriver or a screwdriver (suitable for the head of the screws provided with the light strip, for electrical connection)
- a manual saw and a miter box or a jigsaw
- a pencil
- 2 steel frame brackets
- long screw + wall-fitting anchor
- a clamp
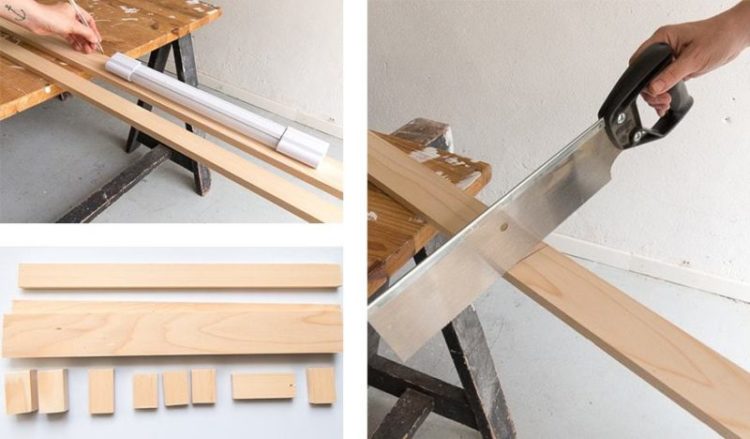
1 – Cut the necessary sections in the cleats with the saw. The lengths are to be defined according to that of the LED strip. Here are the ones used here:
– With the cleat of 38 x 18 x 200 mm
- a section of 52,5 cm
- a section of 9.5 cm
- a section of 7 cm
- 4 sections of 5 cm
– With the cleat of 9 x 65 x 200 mm
- 2 sections of 52,5 cm
– With the 28 x 38 mm cleat
- 2 sections of 6 cm
- 1 section of 6.5cm
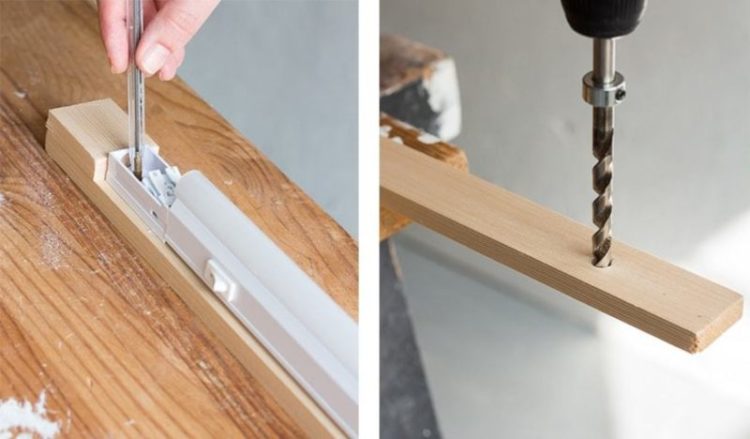
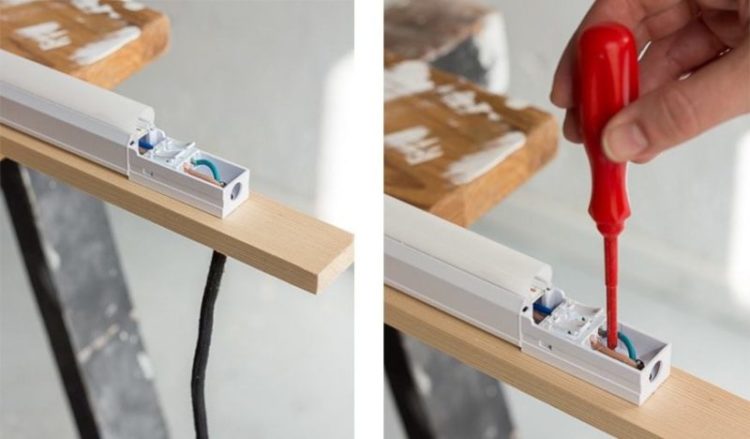
2 – The neon is then fixed by taking care to drill a hole for the power cord.
3 – Pass the electric wire through the hole drilled, connect to the LED strip according to the instructions. Fasten the screws with the supplied screws. Connect the plug to the power cable if necessary.
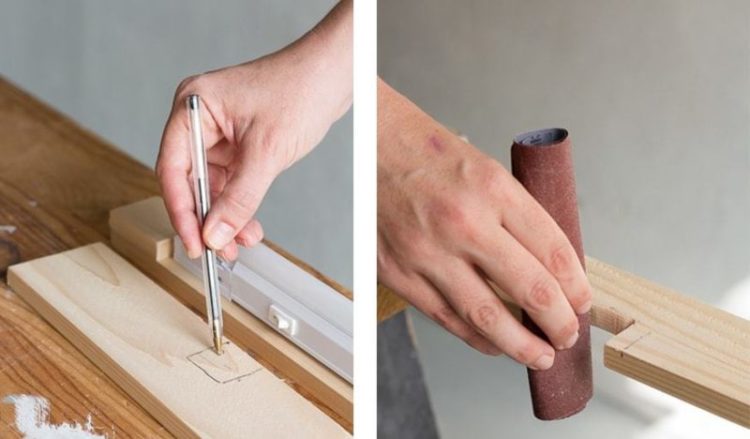
4 – If you wish to light the lamp directly at the box, a notch is cut out to access the switch.
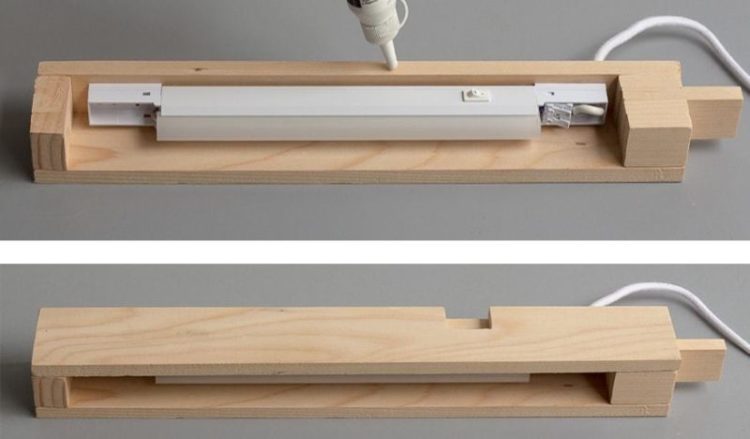
5 – We then assemble the box, sticking it and screwing it from the top (this allows to change the neon afterwards)
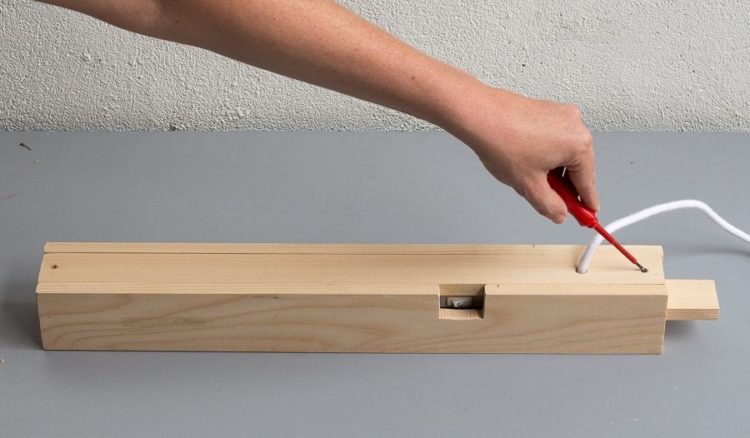
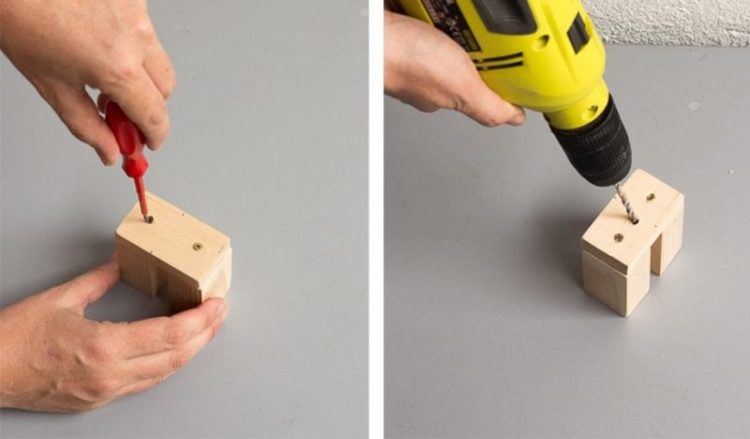
6 – Attach the whole by 2 screws on the top. Tip: To prevent the wood from splitting, screw with a slight angle.
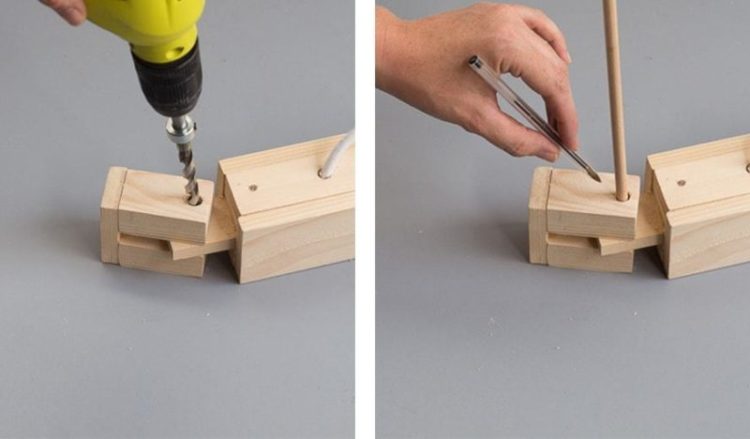
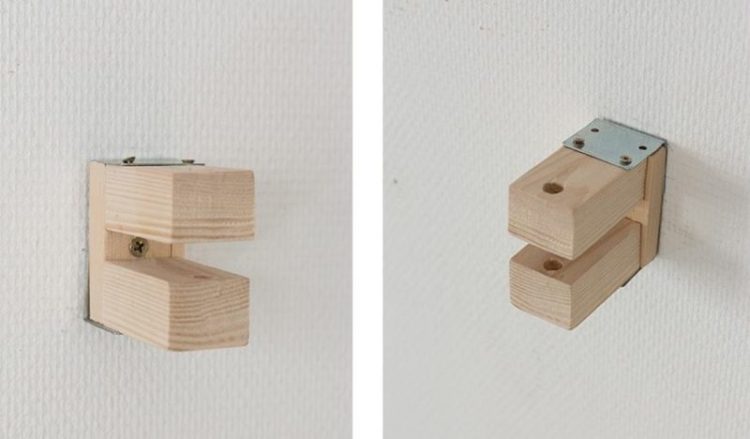
7 – Turn the bracket over. Consolidate the assembly with 2 screws. Using a thin drill bit, drill the center. It is through this hole that the screw will pass to fix the bracket to the wall.
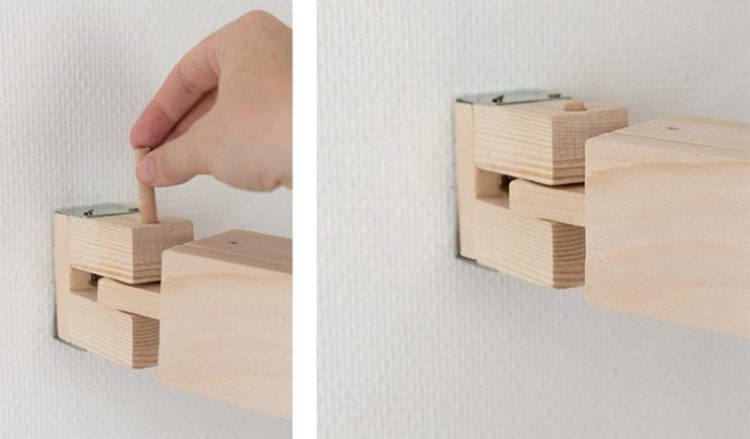
8 – Finally, we manufacture the articulation, which will be reinforced with 2 metal brackets.
9 – And here it is! The lamp turns 180 degrees to illuminate the workspace according to your desires!
More info on 18h39 (in french)
