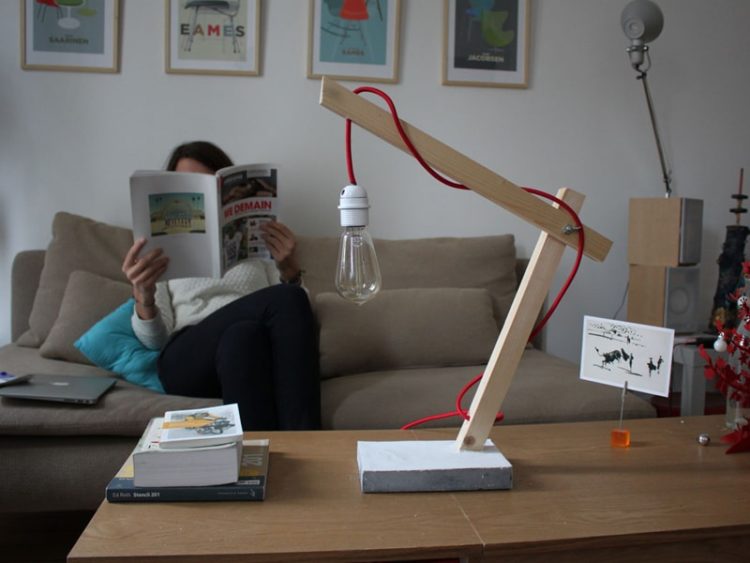
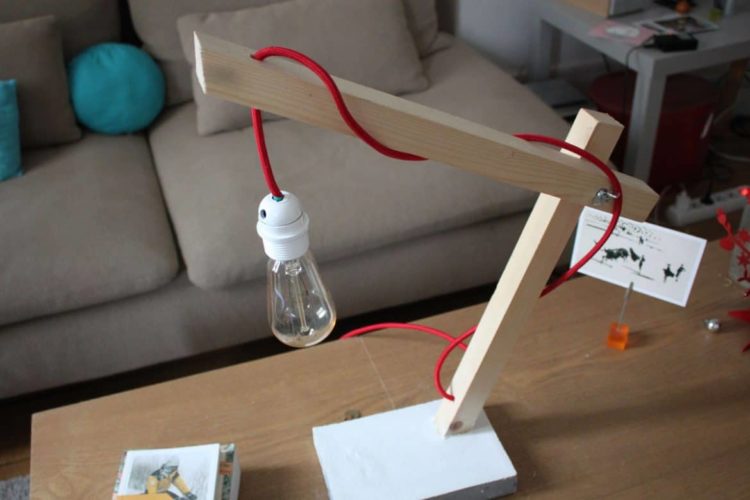
This office or lounge lamp, easy to make, is made of a wooden and concrete bracket. I like the clean side brought by the materials and the end result for such a small budget.
- Difficulty: Easy
- Duration: 2 hour (s)
- Cost: $25
Table of Contents
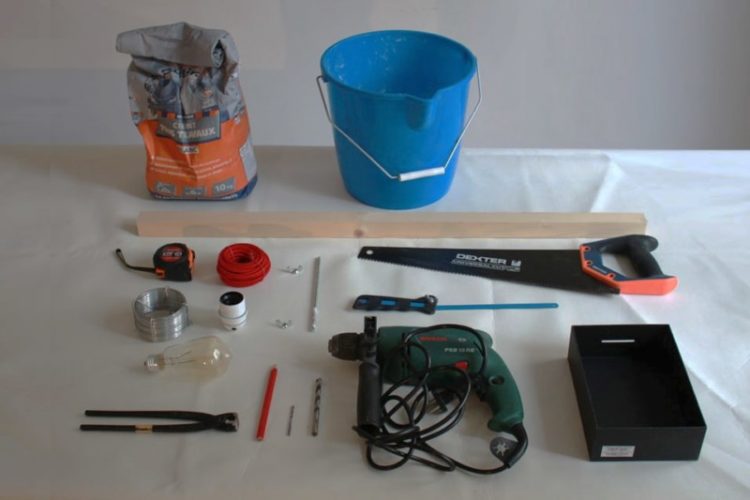
List of materials
- 1 x Bucket
- 1 x Cement Bag
- 1 x Wood Saw
- 1 x Hacksaw
- 1 x Wooden Clamp 4 x 4 cm
- 1 x Bulb
- 1 x 1m of wire
- 1 x Shoe box (it will serve as a mold at the base in cement)
- 1 x Threaded rod Ø6
- 2 x ear nuts Ø6
List of tools
- Wood saw
- Metal saw
- Bucket
- Cutting pliers
- Drill
- Drill bit Ø3 and Ø8
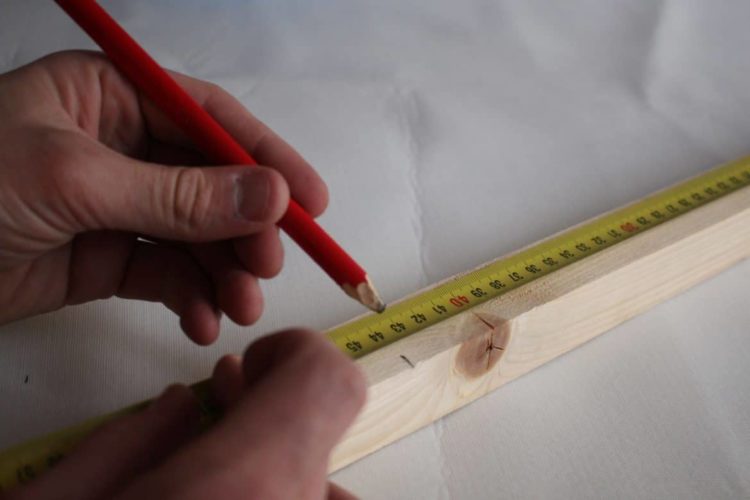
Step 1 – Make a mark for cutting
Make a mark on the cleat at 44 cm from the tip. Your mark should be 45 ° from the edge.
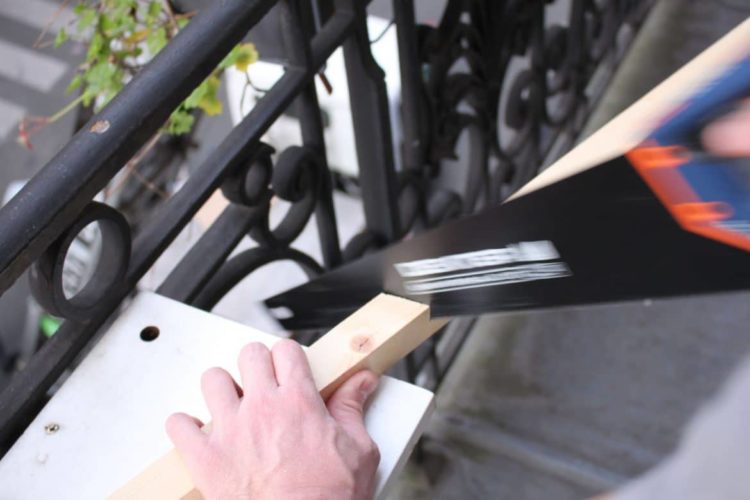
Step 2 – Cut the cleat
With the saw, cut the cleat in bevel following the mark. Cut a second piece of the cleat at 46 cm (keeping its “beveled” end).
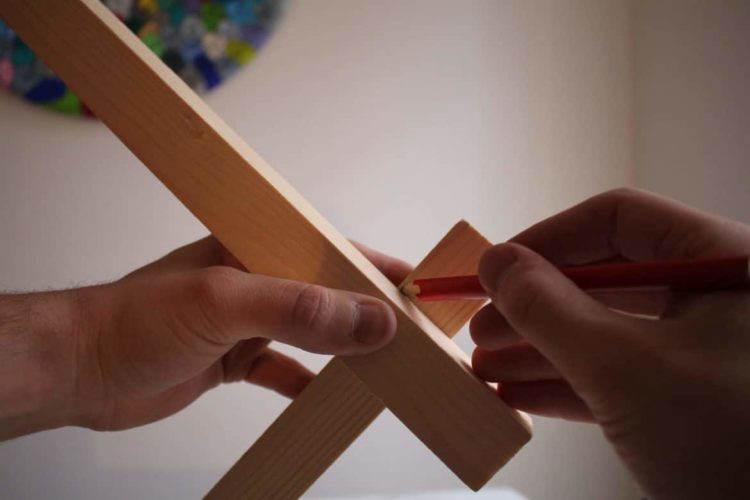
Step 3 – Make a mark for each hole
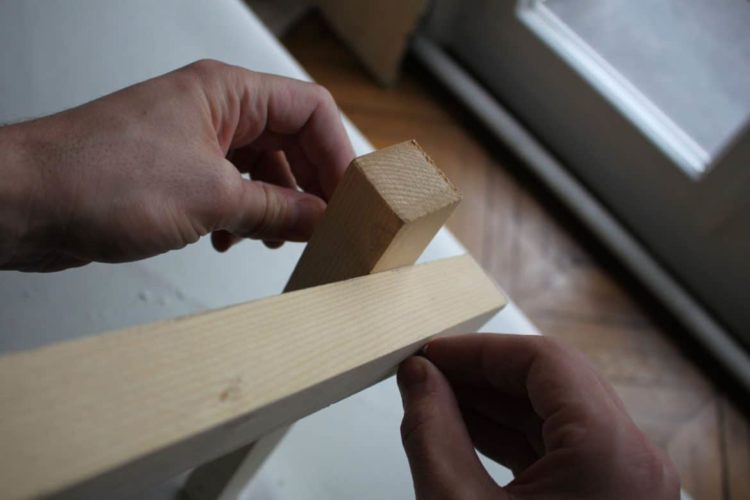
You must mark the wood in 4 places. To do this, position the two battens as they are assembled on the lamp.
Take a mark at the intersection.
- 1st hole (Ø6): to assemble the two cleats in the form of a compass
- 2nd hole (Ø8): to pass the electric wire a first time close to the base
- 3rd hole (Ø8): to pass the electric wire a second time from the top
- 4th hole (Ø3): to pass the wire that will serve to “arm” the concrete of the base
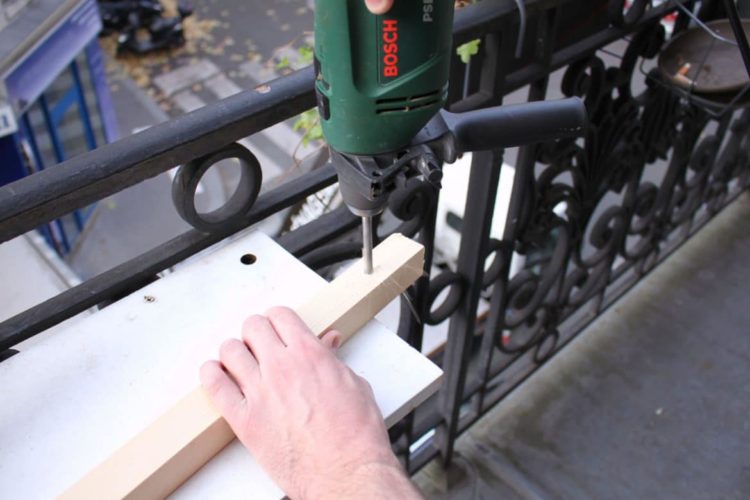
Step 4 – Drilling
Drill each brand. To avoid bursting the wood when your drill bit comes out of the hole, drill first with a bit of diameter Ø3, then a second time with a bit of an intermediate diameter then finally with the final diameter.
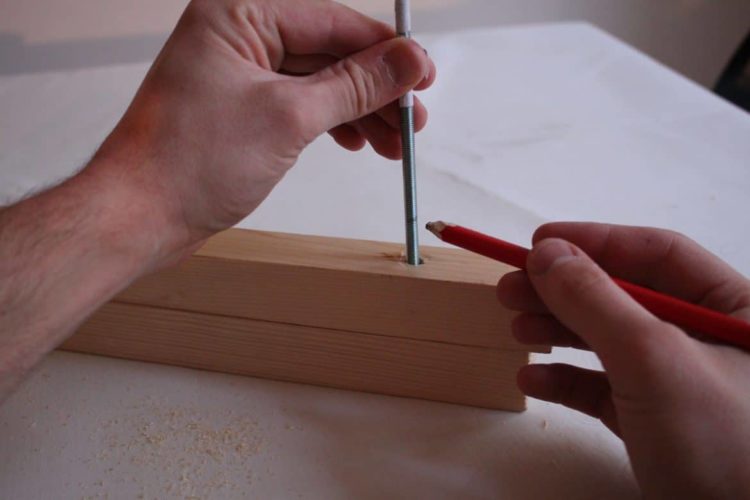
Step 5 – Saw the threaded rod
Place the two strips of wood on top of each other, then insert your threaded rod into the hole provided. Make a mark about 1 cm above the cleat. Then saw the threaded rod at the level of the mark.
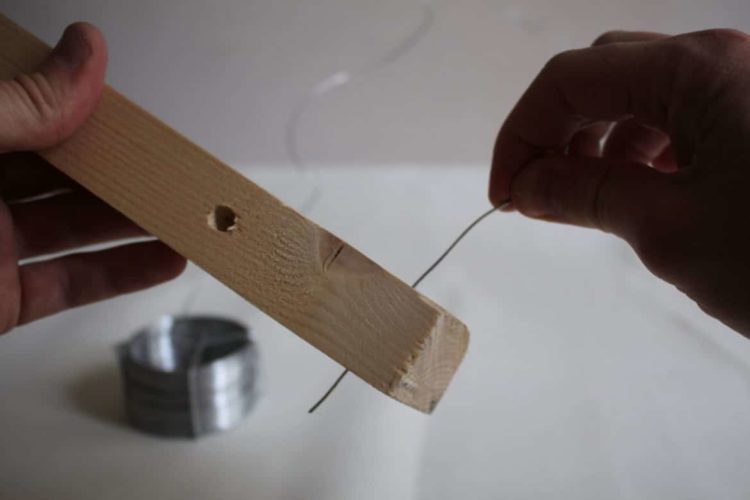
Step 6 – Insert a wire into the base of the base
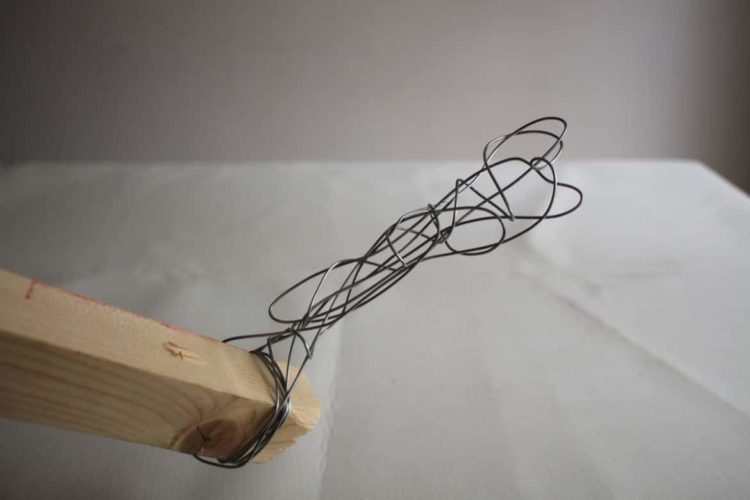
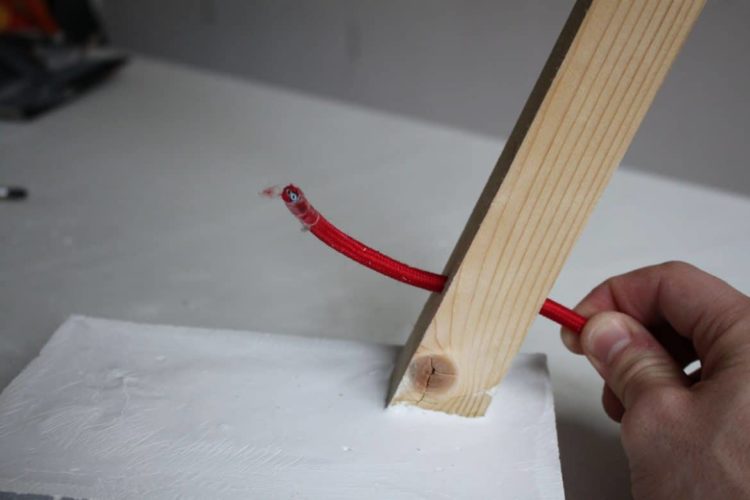
In order to solidify the cement, you can wrap the strip that will be plunged into the cement of a wire. This technique, more commonly known as “reinforced concrete”, is based on building construction techniques.
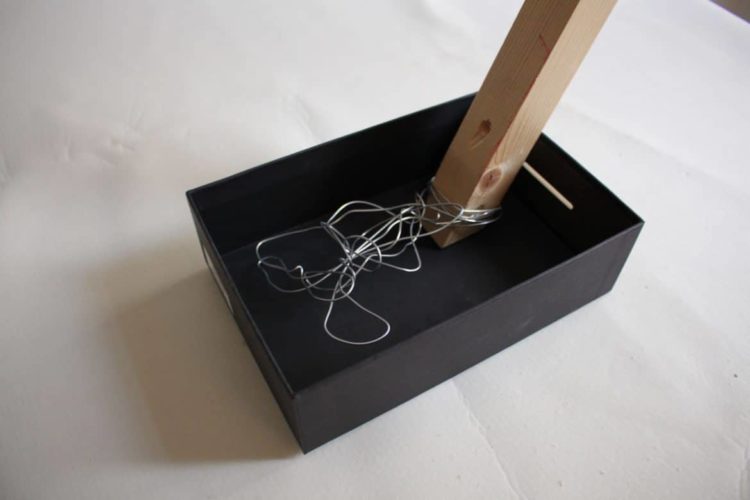
Step 7 – Attach the bracket to the shoebox
Screw the cleat into the bottom of the shoe box. Then reposition the wire so that it gets as much surface as possible. Be careful that it does not go too high so that it is totally immersed in the cement.
Step 8 – Making cement
Follow the instructions on your cement pouch to make a small amount of cement.
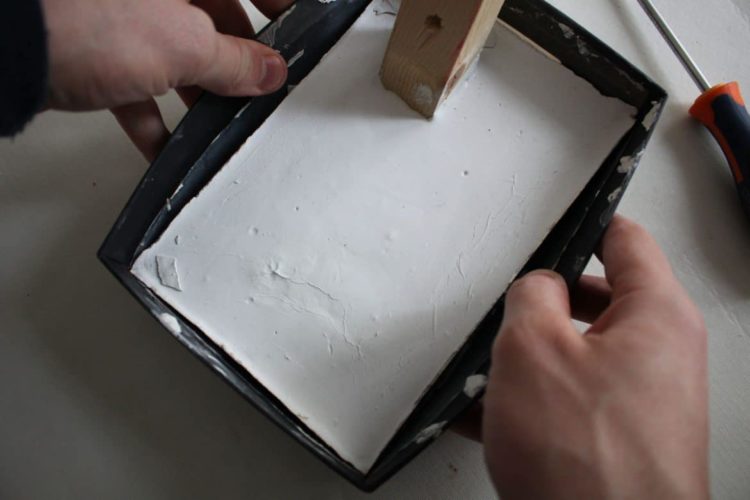
Step 9 – Unmount the base
Wait 24 hours for the cement to dry well and remove from the mold. My shoe box did not resist.
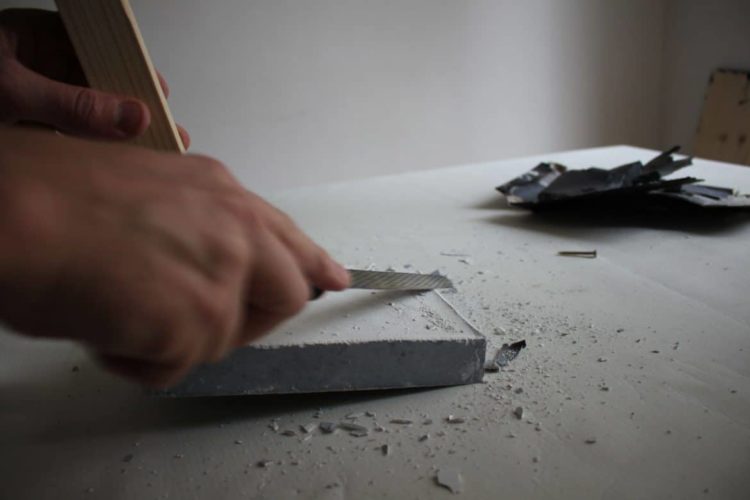
Step 10 – Lining the edges
For a cleaner look, I edged the edges of the concrete base.
Step 11 – Attach the second bracket to the base
Using my threaded rod Ø6 and my 2 nuts Ø6, I attached the second bracket to the base.
Step n ° 12 – Position the cable
Position the cable by passing it through the holes provided for this purpose. Then wire the cable to the socket.
source Wikifab
