Pipe lamp is one of the most rewarding full DIY Projects in the world thanks to their price and simplicity. So if you have some old unused pipes in your household and are ready to feed your imagination with industrial design pieces, let’s make one!
Table of Contents
Materials
- Assorted pipe fittings from the plumbing aisle. We used the following 1/2″ parts:
- (1x) 6″ nipple
- (1x) 3 1/2″ nipple
- (6x) 1/2″ or “close” nipple
- (5x) 90-degree elbow
- (3x) t-joints
- (1x) 3/4″ – 1/2″ 90-degree reducer
- citrus-based sticker remover
- Lamp cord set with candelabra base socket and rotary switch
- Electric drill with 5/16″ bit
- Hot glue gun
- Cutting pliers
- Electric tape
- Soldering iron (optional)
Steps
1- Remove the stickers and tape from the pipe parts and cleaning them with mineral spirits or citrus-based cleaner.
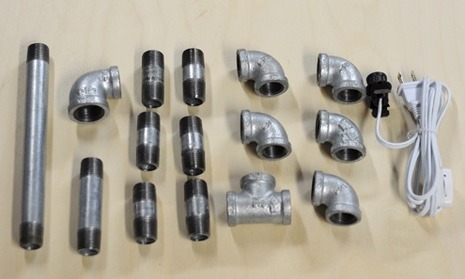
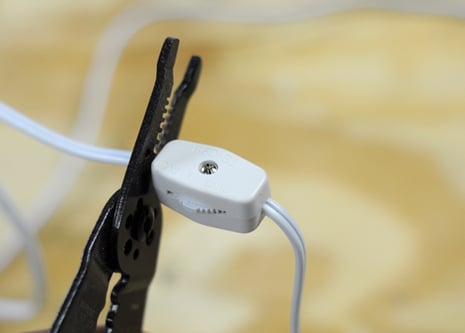
2 – Cut the cord away from the plug and switch to pass it through the pipes.
Cut the cord right above the switch, and then cut the switch out. We’ll reinstall it later.
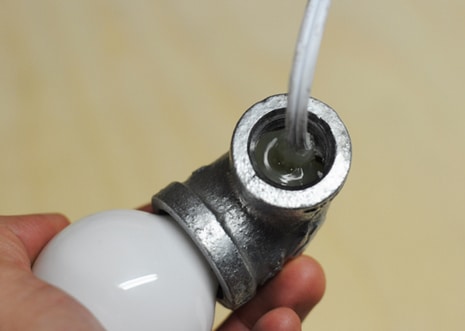
3 – Insert a bulb in the socket and thread the now-cut cord through.
Place the bulb where it looks best and then use the hot glue to fill the cavity in the reducer to hold the socket in place. Be sure not to get any glue on the threads.
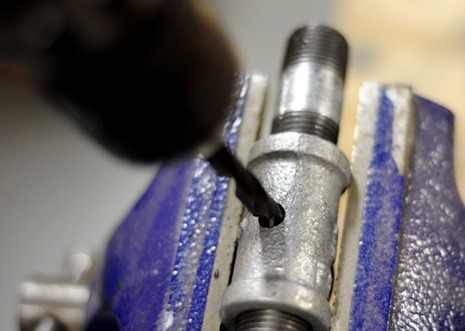
4 – Choose a place where the cord will exit the pipe lamp, and drill a 5/16″ hole.
When drilling into metal, be sure to use a slow speed and wear proper safety gear.
5 – Then, just assemble all the pipe lamp parts as desired, threading the cord through where necessary.
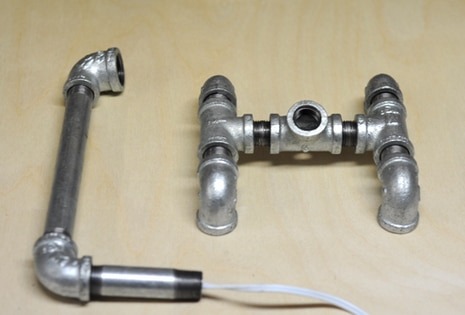
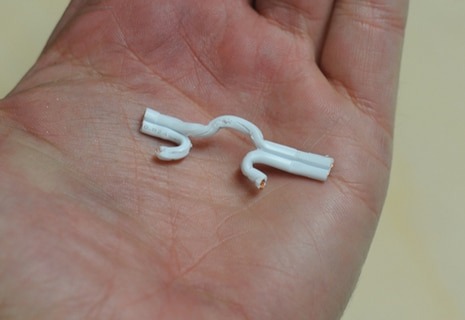
6 – Open the rotary switch, and note how the fixture works.
Remove the cut cord, then recreate the setup to connect the two ends of the cord. Connect the cold wire (the one with ridges) with solder or by twisting the wires and sealing with electric tape. Insert the hot wire into the proper channels, and close the switch to insert the little teeth.
7 – Test to make sure everything is set up properly, and get to work!
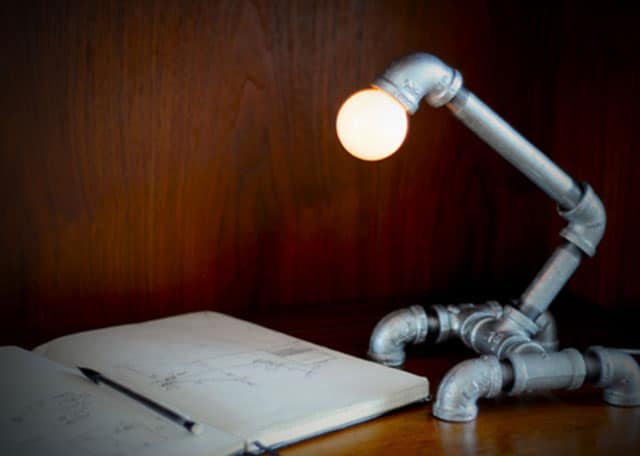
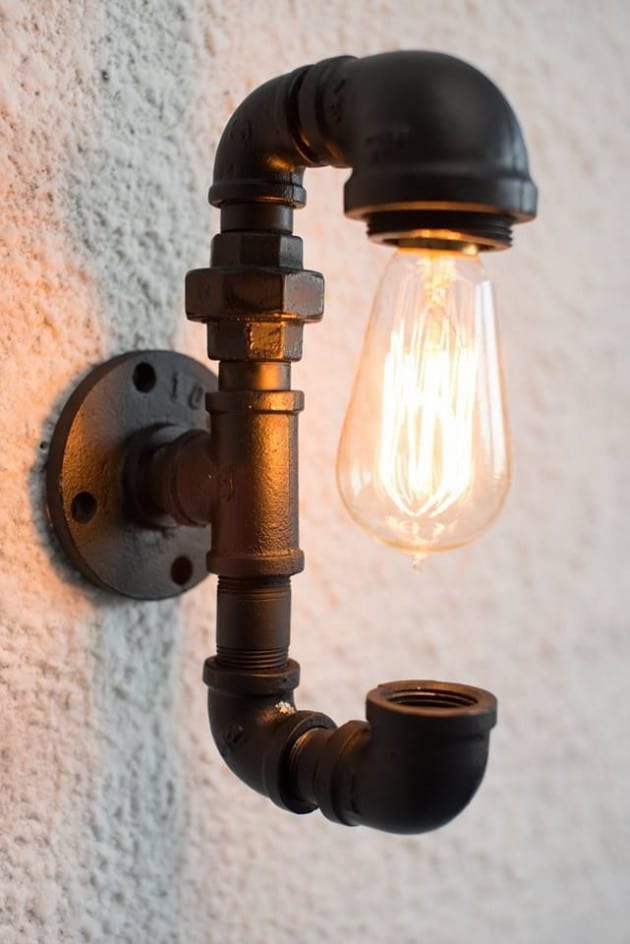
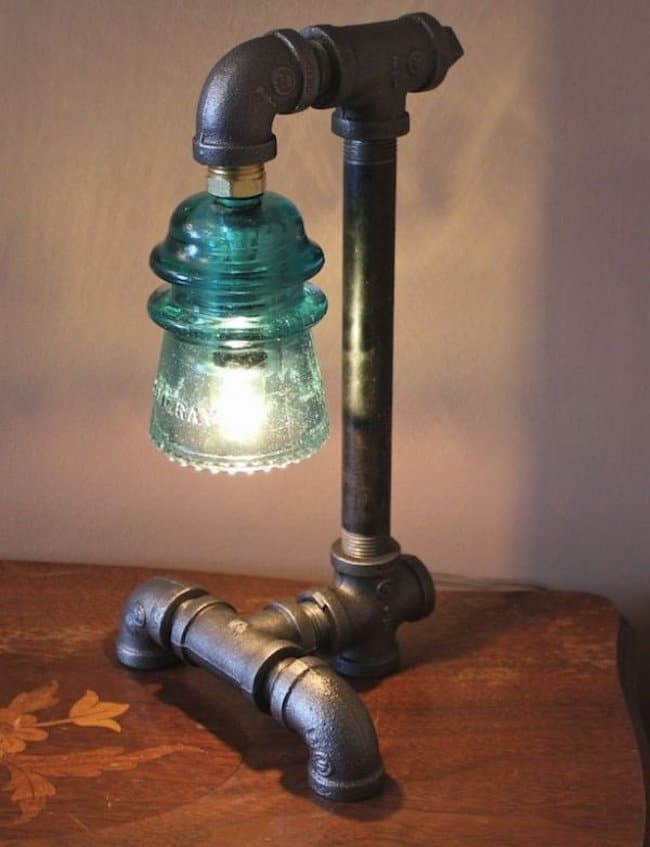
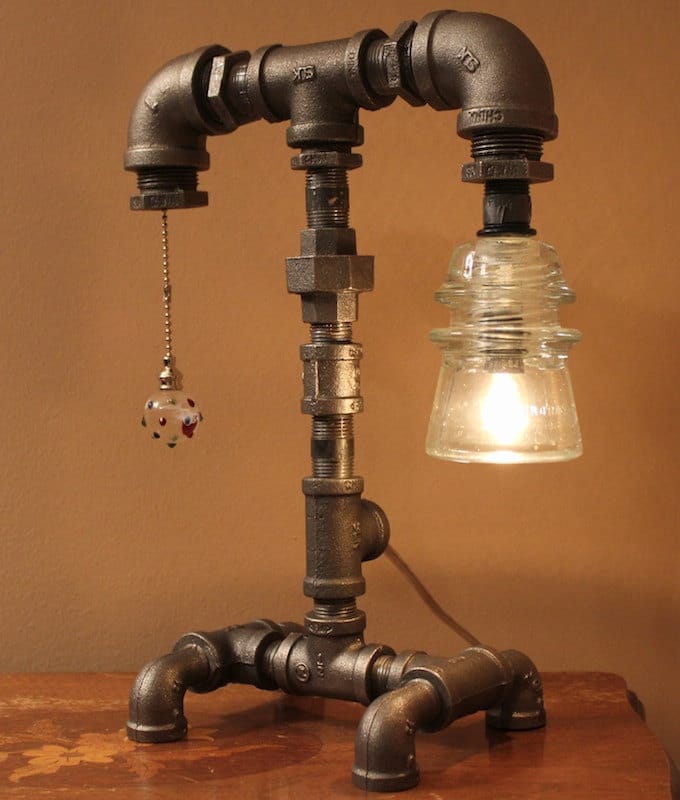
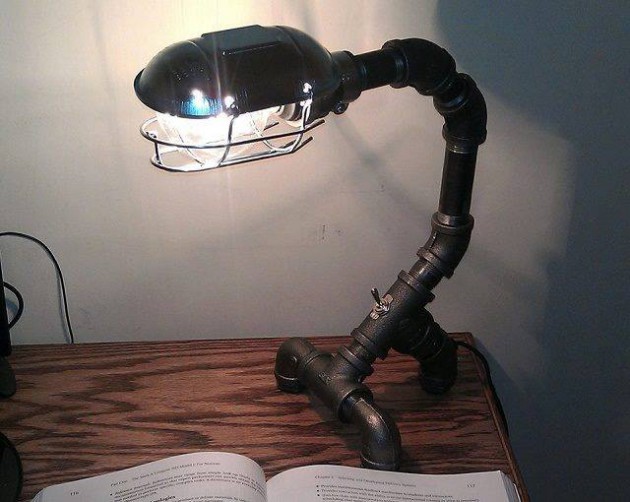
Other examples of DIY pipe lamps

Last update on 2022-05-30 / Images from Amazon API
Innovative & Creative!!